But the strong allure of charming handmade gifts and having customized items that I wouldn't be able to afford otherwise lured me in, and I have continued to drag out my machine and its messy accessories on a regular basis. In fact, our huge dining room table looks this more days than not.
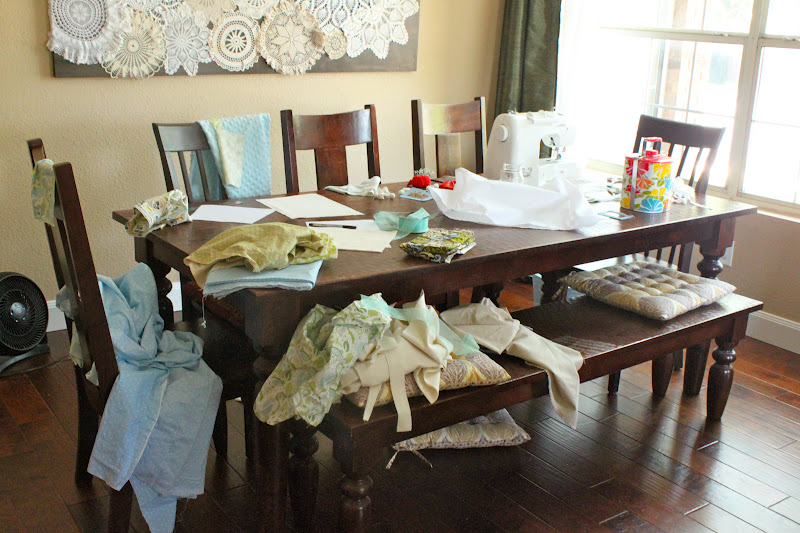 |
| Just keeping it real, people. |
I don't mind the mess because sewing has been a great creative outlet for me, and I always take on projects with instant gratification. Like making changing pad covers for Joshua.

I used the tutorial for contoured changing pad covers written by A Load of Craft as the basis of my plan for creating the cover, but I didn't follow it for the changing pad pictured above. There's nothing wrong with the tutorial, but the two I made from three cuts of fabric didn't turn out as well as I'd hoped, so I decided to revise the process a bit for myself.
 |
| Exhibit A. Just trace the contoured side of the changing pad onto paper (I used wax paper because it was handy). |
There is a perfectionist lurking inside me, and I had to fight the urge to make the pattern look straight and pretty. As A Load of Craft points out, the sides of these changing pads are not straight and pretty, so the traced pattern is going to be a little weird looking, too. Accept it and move on.
 |
| Remember to sew the contoured side to the top piece as though both pieces have straight edges. |
I got the smoothest fit by cutting a single piece of fabric to cover the top and then sewing on the four individual side pieces with enough extra fabric to go underneath the pad and make the elastic casing. I am posting the picture above because I thought the trickiest part was sewing the contoured piece to the center piece of fabric. The pieces should be pinned and sewn as though they are both straight cuts of fabric.
See that little raised tuck of fabric on the left side of the photo above? That's a result of having the contoured piece pulled down in a straight edge. (Don't be thrown off by the size of the top cut of fabric. I used an old baby blanket that I made for William but we didn't use it much.)
This pad cover is adorable and I haven't found any off the rack changing covers with fabric as cute as this online or in stores, unless we're talking about spending a tiny fortune on baby bedding. Which I am not.
There you have it. A sweet custom changing pad cover for a fraction of the cost of buying one. Let's look at it again, shall we?
 |
| Cute! |
No comments:
Post a Comment